The Windows Media Player is an excellent application for playing music and videos on a Windows PC. It supports various file formats but is prone to many errors. Many Windows 10 and 11 users reported these issues. Windows Media Player Can’t Find Album Info? There are several solutions to fix this problem. In this article, let us explore all the fixes if the Windows media player not working.
To fix this problem refresh the Windows Media Player database, reinstall Windows Media Player, troubleshoot Windows Media Player, etc.
Traditionally users can get album info in Windows media player by right-clicking an album and selecting find album info. Still, some users have also stated that this simple way does not work for them.
See Also: Where To Find Saved Audio Messages On iPhone: A Quick Guide
Ways To Fix This Problem
Below 10 methods may help you quickly resolve this problem and use Windows Media Player without any errors.
Refresh Windows Media Player Database
To refresh the database, the user needs to open run; for windows 10 and 11 users, first type the run inside the search bar. Moreover, press open from the pane on the right. And for Windows 7 users, click the start button and type the word run in the start menu search box, then open the run command window. However, a simple command can also be done, i.e., window key + R, a keyboard shortcut.
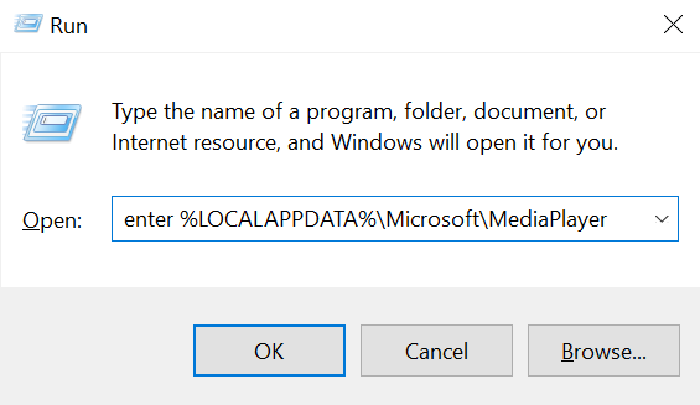
- Open run.
- Then enter %LOCALAPPDATA%MicrosoftMedia Player in the box and click ok.
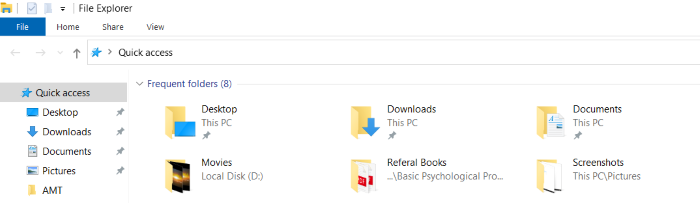
- File explorer will be opened.
- Then, the user needs to select all the files in the folder by holding the ctrl key while not selecting subfolders.
- Then delete the selected folder content.
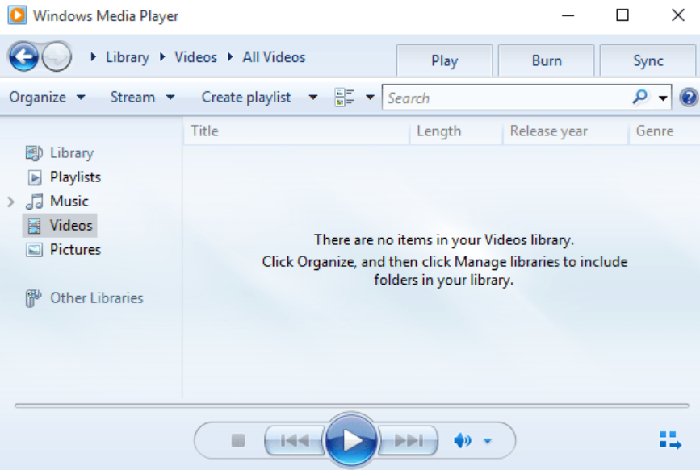
- Opening WINDOWS MEDIA PLAYER will then rebuild the database.
Reinstall Windows Media Player
Follow these steps to reinstall Windows Media Player.
- Open run window.

- Enter appwiz.cplin the box that opened.
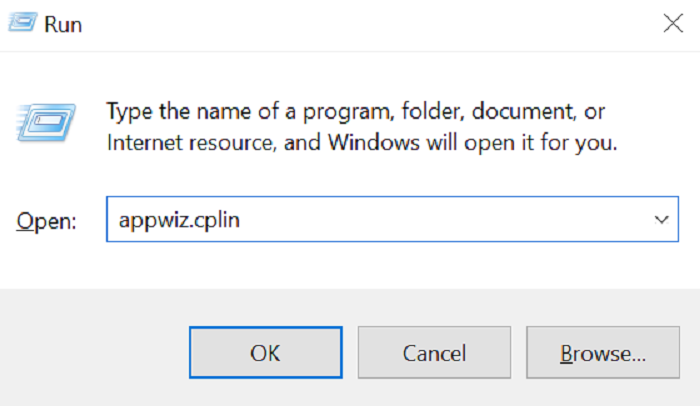
- Click ok.
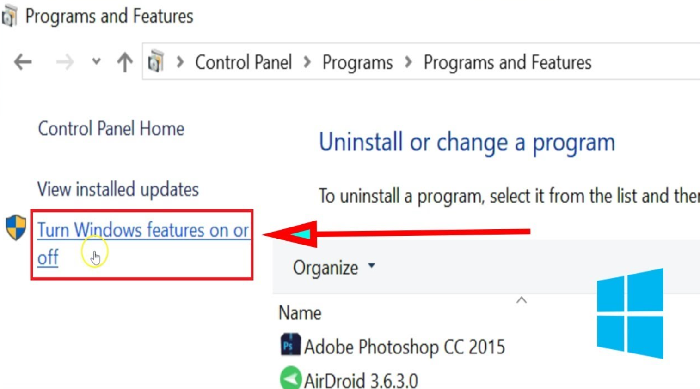
- Then click turn windows features on or off.
- Expand media features.
- Deselect the windows media player check box and click ok.
- Then restart windows after turning off windows media player.
- After that, open the windows features again.

- Select windows media player check box.
- Click ok to reinstall WINDOWS MEDIA PLAYER.
See Also: Whoops There Was A Problem Playing This Video
Troubleshooting Windows Media Player
Follow these steps to troubleshoot successfully.
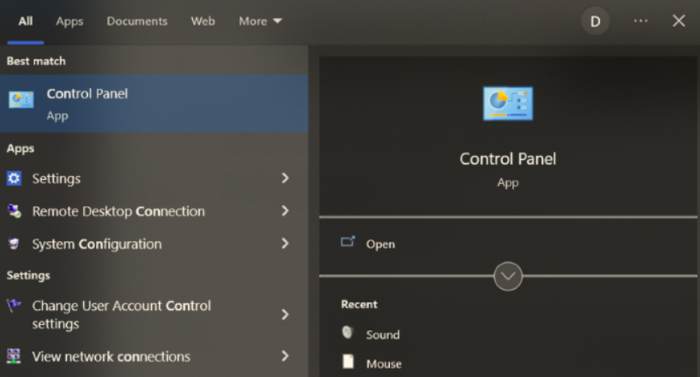
- Open Desktop, click on Start, search for Control Panel in the search bar and open the result.

- Select Large Icons from View by dialogue box and Troubleshooting on the opened window.
- When the Troubleshooting window opens, click on View All.
- Scroll down to Windows Media Player Library on the new window. On the next window, click Next.
- Wait for the troubleshooter to find or detect any problems that could be there in the Windows Media Player.
- If an issue is detected, then two options will appear:’ Apply this fix’ and ‘Skip this fix.’
- Click on Apply this Fix.
- When this process is completed, the error will be displayed on your screen.
This should solve the problem. But if it persists, then try one of the other methods.
See Also: How To Edit Photos On iPhone To Look Professional: Tips & Tricks
Audio And Video Troubleshooters
In some cases, the functionality of Windows Media Player could be limited if the error is system-specific. For this purpose, Audio and Video Troubleshooters might be of help.
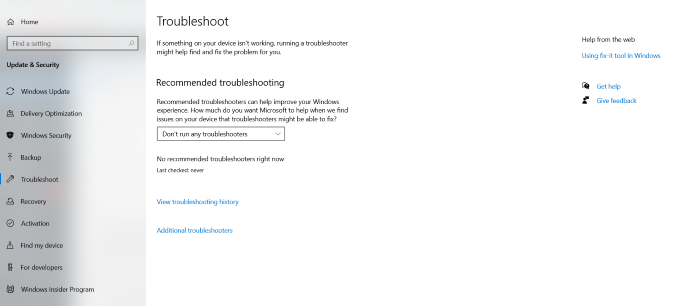
- Go to the Start menu, search for Troubleshoot in the search bar and click on the result.

- On the right-hand pane, scroll down to find Playing Audio and select it.
- Next, press on Run the troubleshooter.
- Wait for the process to complete and then find and click on Video Playback.
- Click on Run the troubleshooter.
- At last, when the process is complete, restart your PC to apply these changes.
Enable Windows Media Player
Follow these steps to enable Windows media player.
- Firstly, open control panel.

- Change view by drop-down to small icons.
- Search for defender firewall of windows.
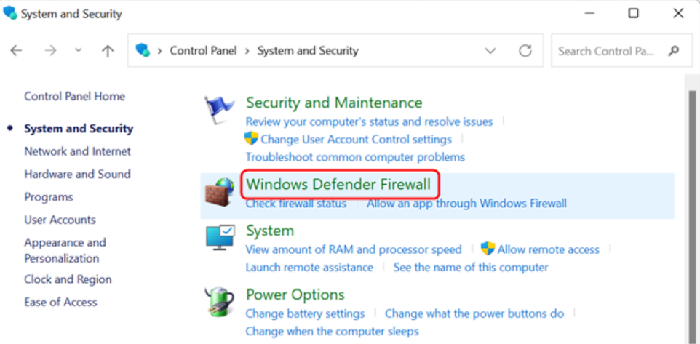
- Select Allow an app or feature through windows defender firewall on the right pane.
- Click change settings.
- Search for WINDOWS MEDIA PLAYER and its network services.
- Check both public and private boxes.
- Finally click ok.
Edit The Host’s File
Edit your host file easily with these simple steps.
- Firstly, open file explorer.

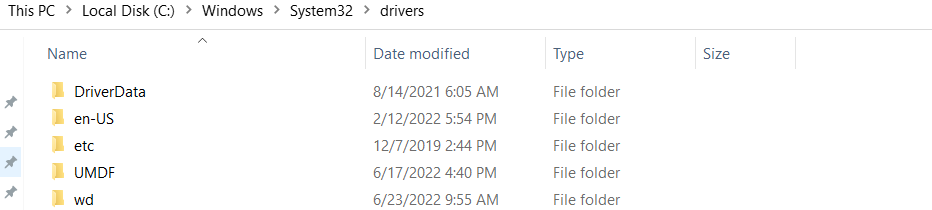
- Enter C: WindowsSystem32driversetc in the address bar of the file explore.
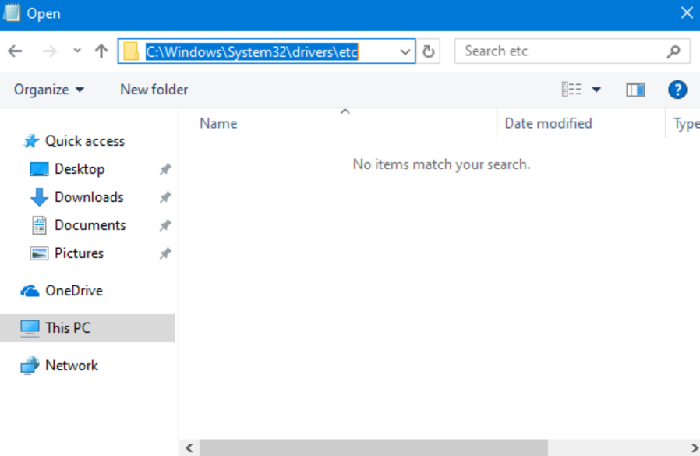
- Then press return.
- Right-click hosts.txt and select open with -> notepad.
- Then find the line in the hosts’ file that has: redir.metaservices.microsoft.com.
- If the numbers 0.0.0.0. precede redir.metaservices.microsoft.com, edit that number to 2.18.213.82. Therefore, the line should then be 2.18.213.82 redir.metaservices.microsoft.com.
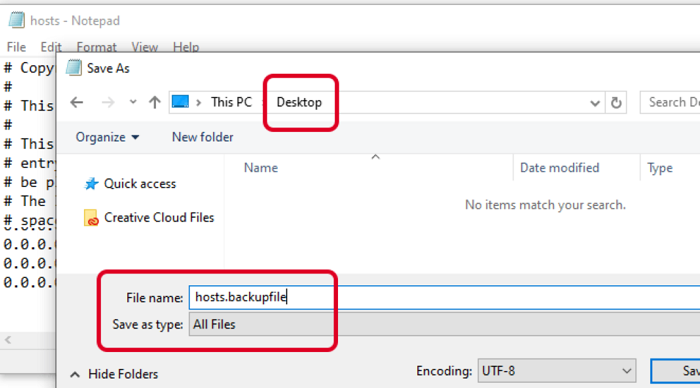
- Click file. Go to save as option.
- Right-click the hosts.txt file on the desktop and select rename.
- Delete the txt extension from the file title.
- After that, right-click the host file on the desktop. Select copy.

- Open the path C: > Windows > System32 > drivers > etc in the file explorer again.
- Then right-click a space within the host’s folder and select page.
See Also: Playing Music While Using Apps On iPhone: How To
Services
Follow these steps to fix the error.
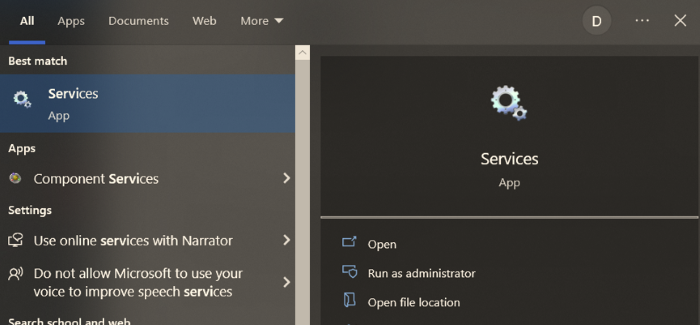
- Open Desktop, click on Start, search for Services in the search bar and open the result.
- When the Services window opens up, find Name under the right side of the pane, scroll down to Windows Media Player Network Sharing Services, and double-click.
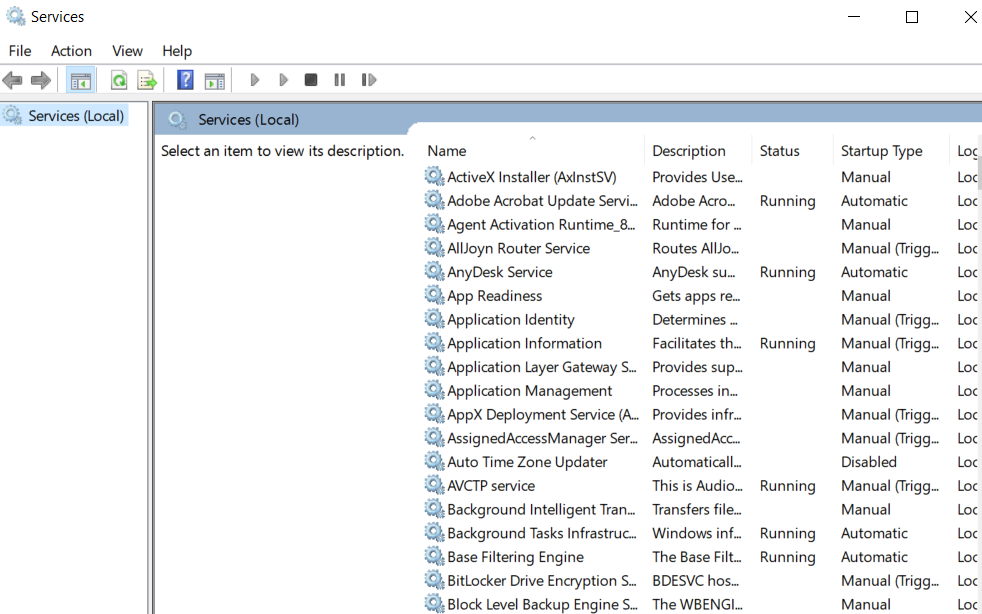
- On the new window, open the General tab, go to Startup Type, select Automatic and click on Apply and OK, respectively.
- Click on Start to begin the service.
After completing this procedure, your error should be resolved, and the videos should normally play on the Windows Media Player.
See Also: Two Finger Scroll Not Working | 5 Unique Fixes
Features
These are the easy steps to rectify the error:
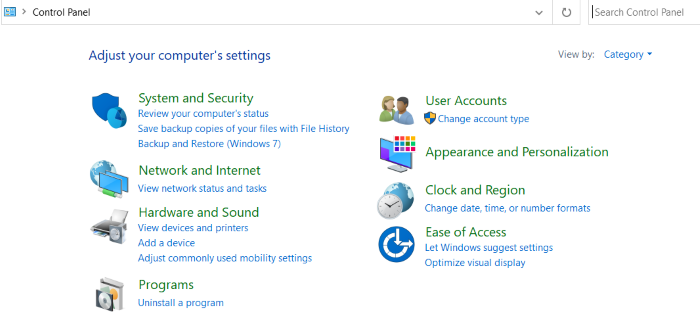
- Open Desktop, click on Start, search for Control Panel in the search bar and open the result.
- On the opened window, select Category from View by dialogue box and select Programs.
- On the next window, select Turn Windows features on or off from the options under Programs and Features.
- Scroll down to Media Features and click on the (+) symbol to expand.
- Uncheck the Windows Media Player option and select Yes.
- Restart your computer now and follow all steps from 1 to 4 again.
- This time, check the Windows Media Player option and select Yes.
Hence, the problem should resolve now.
Delete Art Cache
Deleting the art cache can solve the issue easily.
- Firstly, close the windows media player.
- Press and hold the windows = E key to open windows explorer or find the windows explorer through the search bar.
- Navigate to C:\Users\[username]\AppData\Local\Microsoft\Media Player\Art Cache

- Delete all the files inside the art cache folder.
- Finally, restart the windows media player.
Check Out: 0xc00d36c4 Error Code | Top 5 Fixes [2023]
Change Value Date
Changing the value date can rectify the issue very easily.
- Open Run dialog box, with the suitable way as mentioned at the beginning of this article.
- Type regedit into a Run dialog box.
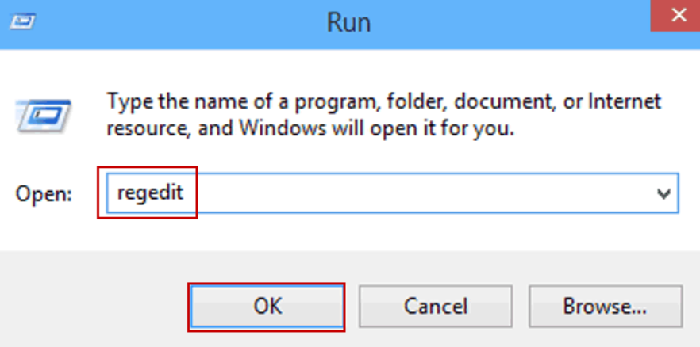
- Clock ok to open the registry editor.
- Navigate to the tree located in the left side pane: HKEY_CURRENT_USER\Software\Microsoft\MediaPlayer\TunerConfig.
- Find the PREFERREDMETADATAPROVIDER on the right side of the pane and then double-click on it to fix the windows media player can’t find album info problem.
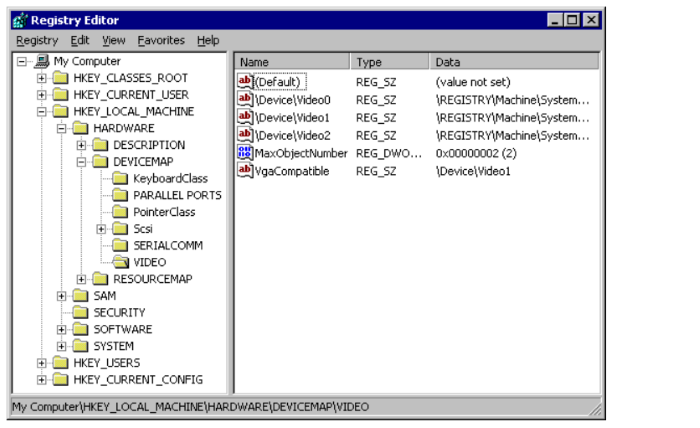
- Change its value date from “pmpMusicMatch” to a blank value.
- Then save that.
- Finally, restart the windows media player, and the software will make a restoring.
- Then everything will work.
However, it is so disgusting to face errors again and again. Today’s era of the post-COVID-19 world has grown an extreme dependency on the digital world. For entertainment, most people resort to Over The Top (OTT) apps such as Netflix, Amazon Prime, Hotstar, and Youtube. Hence, common issue that many faces are the slow playing of the video. So, check out this article to watch your videos without any interruption.
FAQs
How can I rip CD with Windows Media Player?
Insert the CD and exit out of the autoplay option if it pops up. Open the application needed. In the folders list, open the music disc. Select the option of rip CD. In the rip settings, go to format to choose one for the audio. Next, you can change the audio quality under the same. Make other similar changes if necessary, and finally click on rip CD. Once it is done, the text will change to stop rip. The music will be stored on the computer, and you can eject CD.
How to edit information on an MP3 file on Windows Media Player
This one is similar to the process of editing album information. Just open the WMP application on your computer. Go to the library icon and click on music. Then right-click on the MP3 file you want and choose edit. This option will let you edit the song title and the artist’s name. Once you are done, save the changes to keep the improvement.
How can I put music on the Windows media player?
So, open the application and click on organize, which you will find in the top left corner. Choose the manage library and then opt for music. You can then click on the add button that will take you to find the music files you would want to import. Once you have found it, click on the include button and press okay. There you have it. You have your files imported. The application also allows you to shuffle, play, repeat, fast forward, sleek, and every other feature you would want to find.
Conclusion
Those are seven solutions that will probably fix the windows media player can’t find album info problem. However, Microsoft has confirmed it has stopped supporting the metadata service for windows media player in windows 7. So, windows 7’s media player no longer displays a new genre, title, cover art, director, and artist metadata.

Alex Wawro is a lifelong tech and games enthusiast with more than a decade of experience covering both for outlets like Game Developer, Black Hat, and PC World magazine. He currently serves as a senior editor covering all things computing, from laptops and desktops to keyboards and mice.