Have you ever stood beneath the mesmerizing dance of the Northern Lights, your heart racing with awe, only to feel a pang of frustration when your iPhone fails to capture its magic? You’re not alone. How to capture Northern Lights on iPhone?
Use a tripod for stability, set your iPhone for a long exposure, and adjust for sustained light sources. Experiment with settings and practice for the best results.
Many have felt the urgency to seize this fleeting moment, only to be met with blurry, lackluster images. How to capture Northern Lights on iPhone? But what if we told you there’s a way to not just capture, but truly encapsulate the Aurora Borealis’ ethereal beauty with just your iPhone?
See Also: How To Upload Pictures To Xbox One From iPhone?
Contents
Importance Of Right Conditions
Imagine trying to read a book in dim light or attempting to paint a masterpiece with muddy watercolors. Just as these scenarios demand optimal conditions for success, capturing the Northern Lights on your iPhone is no different. But its fleeting nature and the vast darkness from which it emerges make it a challenging subject to photograph, especially on a device like the iPhone settings for Northern Lights.
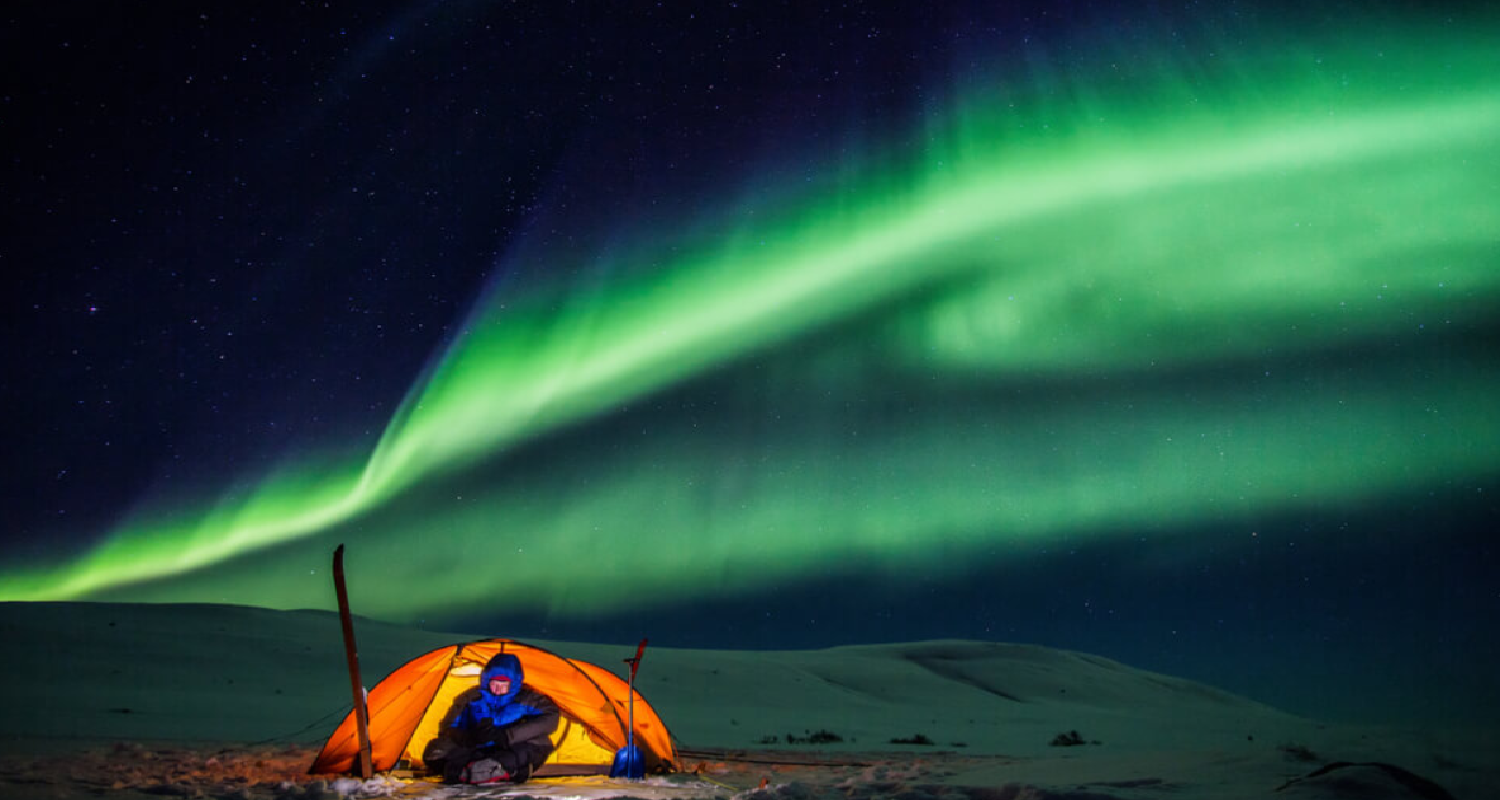
Firstly, the clarity of the sky is paramount. A cloud-covered or light-polluted sky can obscure the lights, rendering your efforts fruitless. It’s like trying to spot a star in the middle of a bustling city – nearly impossible. You need a clear, dark sky to let the colors and movements of the aurora shine through.
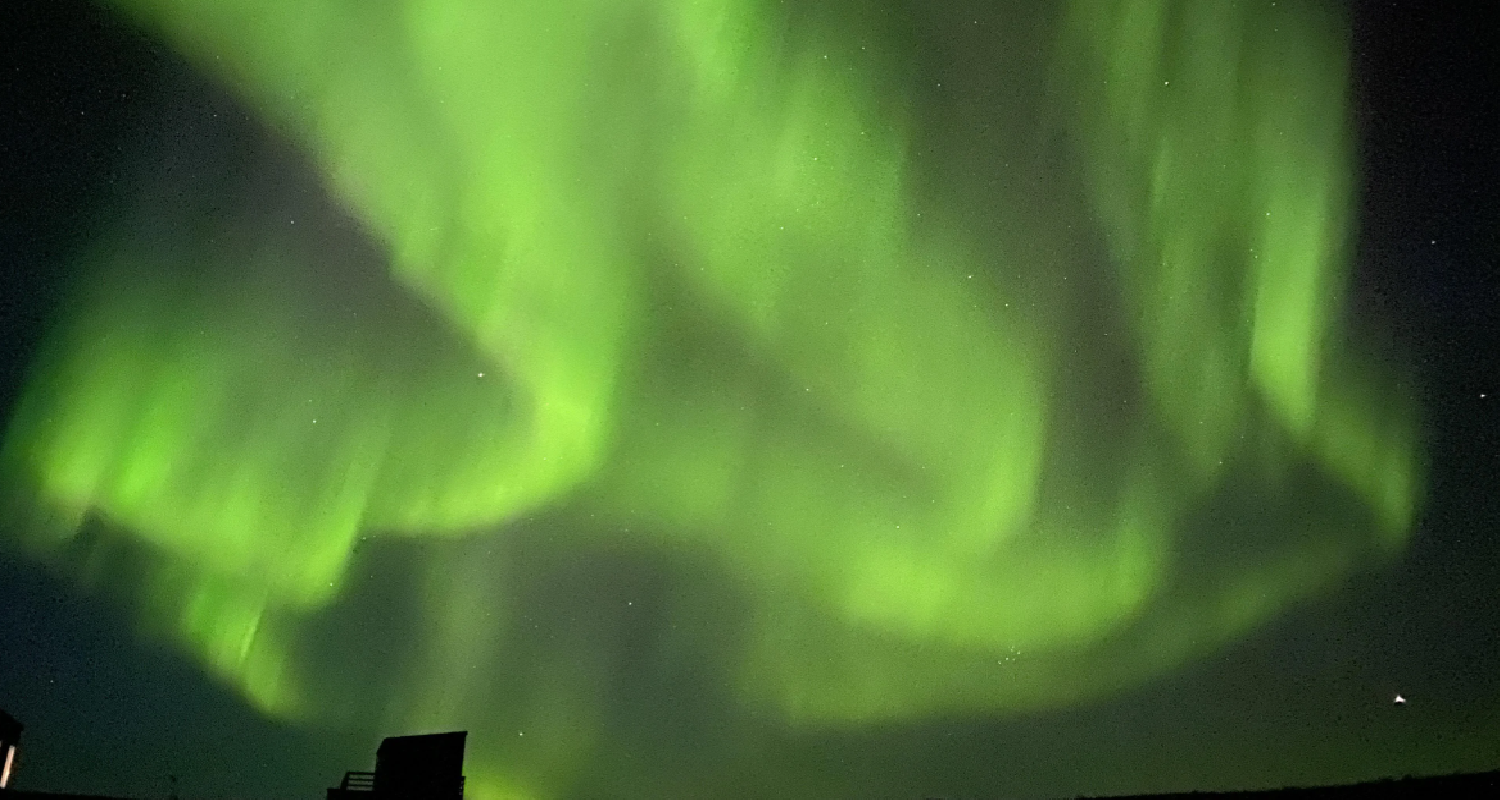
In essence, while your iPhone is a powerful tool, it’s not magic. So, before you set out with your tripod and enthusiasm, ensure the universe is on your side, with clear skies and active auroras.
Essential Tools For Capturing Northern Lights
Picture this: You’re standing beneath the vast expanse of the night sky, the Northern Lights weaving their luminous tapestry right before your eyes. How to photograph aurora borealis with iPhone? You quickly pull out your iPhone, eager to capture this moment, but the results are blurry and underwhelming. Why? Because, like any master artist, you need the right tools to paint the perfect picture.
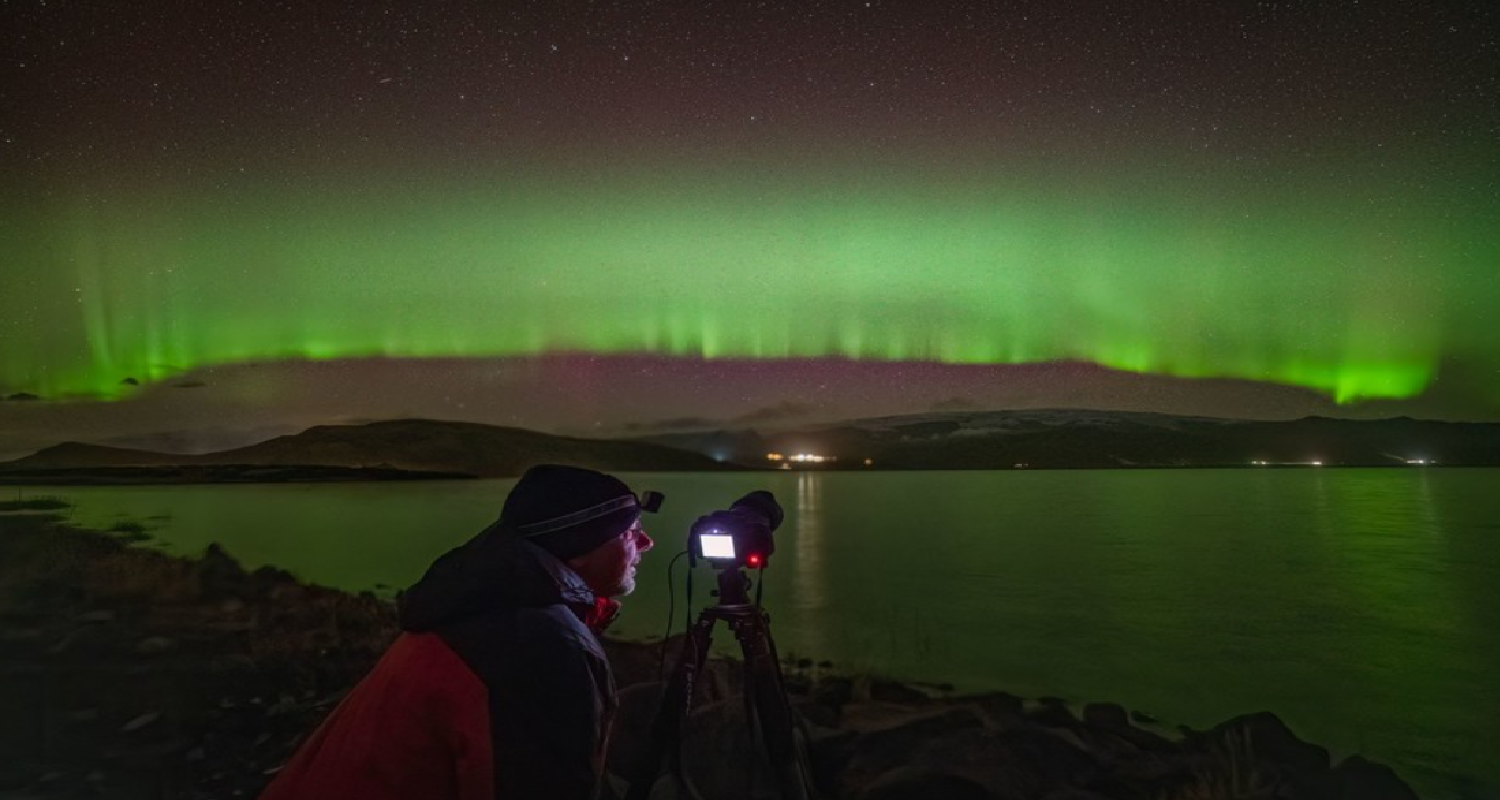
- Tripod: Think of the tripod as your steady-handed assistant. The Northern Lights are a play of light and shadow, and capturing them requires long exposure shots. Even the slightest movement can turn your photo into a blurry mess. Remember, while the human hand is versatile, it’s not perfect for holding still for 15-30 seconds!
- Wide-Angle Lens Attachment: While the iPhone’s camera is impressive, a wide-angle lens attachment can broaden your perspective, quite literally.
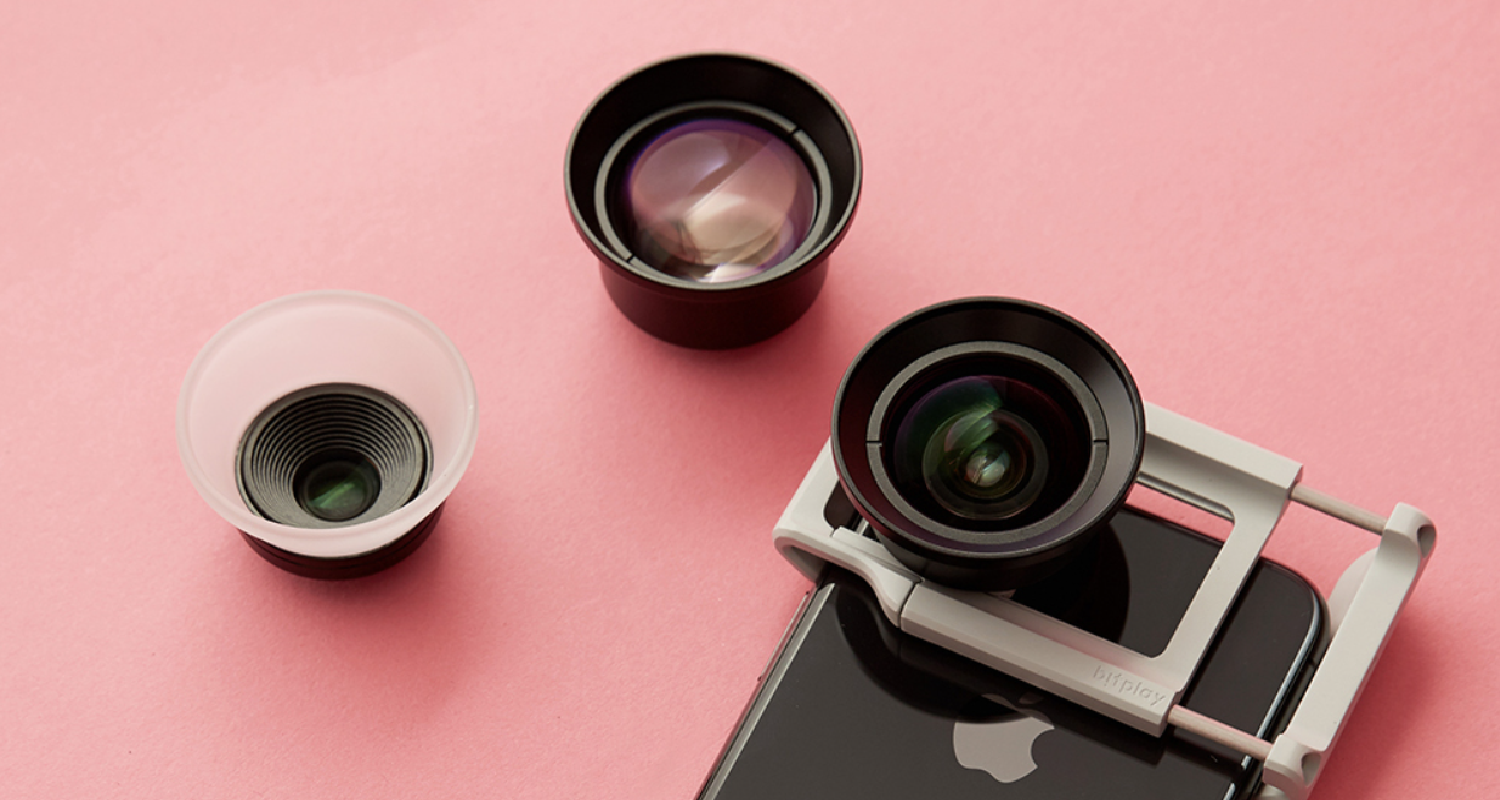
- Camera Apps: The default iPhone camera app is great, but specialized camera apps offer more manual controls. Features like ISO adjustment, shutter speed control, and focus lock can make a significant difference in capturing the Northern Lights effectively.
- Remote Shutter Release: Touching your phone to click a picture can cause movement, especially during long exposures.
- Portable Charger: The cold can drain your iPhone’s battery faster than usual. A portable charger ensures you don’t run out of juice in the middle of your Northern Lights photography session.
In the words of Julia Evans, “It’s all about understanding your tools.” While the Northern Lights are a spectacle of nature, seeing iPhone camera settings for Northern Lights in their full glory requires a blend of nature’s perfection and human innovation. Equip yourself with these essential tools, and you’re one step closer to taking that perfect shot of the Aurora Borealis.
See Also: Where To Buy Fisheye Lens For iPhone: Photography Guide
Setting Up Your iPhone For The Best Shot
Alright, let’s dive into the nitty-gritty! You’ve got your tools, you’re under the right conditions, and the Northern Lights are putting on a show. How to capture Northern Lights on iPhone? But wait! Before you start snapping away, let’s ensure your iPhone is set up to capture the aurora in all its magnificence.
- Switch To Night Mode: The iPhone’s Night Mode is a game-changer for low-light photography. This feature is your best friend when photographing the Northern Lights. If your iPhone prompts you to switch to Night Mode, do it!
- Lock The Focus: Tap and hold on a bright star or the moon until you see the ‘AE/AF Lock’ sign. This locks the focus and exposure, ensuring your shots aren’t blurry or overexposed.
- Use A Timer: Even with a tripod, pressing the shutter button can cause slight movement.
- Turn Off Flash: The flash is a big no-no for Northern Lights photography. It can wash out the colors and ruin the shot. Ensure it’s turned off.

- Experiment With Long Exposures: If you’re using a third-party camera app, play around with longer exposure times. Start with 15 seconds and adjust based on the results.
- Check Your Photos: After taking a shot, review it. Zoom in to ensure it’s sharp. If it’s blurry, adjust your settings and try again.
Remember, as Julia Evans often emphasizes in her zines, “It’s okay not to know everything.” The Northern Lights are unpredictable, and so is photography. But with the right setup and a dash of patience, your iPhone can indeed capture the ethereal beauty of the aurora. Happy shooting!
Common Challenges And Solutions
Ah, the age-old dance of trial and error! While the Northern Lights are a sight to behold, capturing them on your iPhone can come with its own set of challenges. But fear not! For every problem, there’s a solution waiting in the wings. How to capture Northern Lights on iPhone? Let’s dive into some common hurdles and how to overcome them, Julia Evans-style—with clarity, simplicity, and a touch of humor.
- Blurry Photos: Even with a tripod, sometimes photos come out blurry. This could be due to wind, an unstable tripod, or even the iPhone’s own vibrations. Ensure your tripod is on stable ground. Use a remote shutter or the iPhone’s built-in timer to avoid touching the phone. And maybe whisper to the wind to calm down for a bit!
- Washed-Out Colors: The vibrant colors of the Northern Lights are sometimes lost, resulting in pale, washed-out images. Adjust the exposure by swiping down on the sun icon. Consider using third-party apps that allow for more manual control over ISO and shutter speed.
- Focus Issues: The vast darkness can confuse the iPhone’s autofocus, leading to unclear images. Manually lock the focus on a bright star or the moon. How to photograph Northern Lights with iPhone? If that’s not possible, some apps allow for manual focus adjustments.
- Overexposure From Other Light Sources: Nearby artificial lights or even the moon can overexpose the image. Position yourself to minimize interference from other light sources. If the moon is the culprit, try to frame your shot creatively, using it as a part of your composition.
- Limited Field Of View: The iPhone’s default lens might not capture the vastness of the sky. Use a wide-angle lens attachment to broaden your perspective.
Remember, every photographer, whether amateur or pro, faces challenges. It’s all part of the journey. As Julia Evans would put it, “Mistakes are just plot twists in your learning adventure.”
See Also: How To Take Boudoir Photos Of Yourself With iPhone: Capture Elegance
Advanced iPhone Camera Features
In the world of smartphone photography, the iPhone has always been a frontrunner as Northern Lights iPhone. Channeling the spirit of Julia Evans, let’s demystify some of the iPhone’s advanced camera features, making them as approachable as a friendly neighborhood cat.
- Exposure Compensation Control: What is it? A tool that lets you set and lock the exposure for upcoming shots. This setting locks until you reopen the Camera app.
- Night Mode: What is it? A mode designed to capture photos in low-light conditions without losing detail or clarity. It’s automatic on supported iPhone models. When in a low-light environment, the Night Mode icon will appear. You can manually adjust the exposure time by tapping on the icon.
- Apple ProRAW: What is it? A format that offers more creative control when editing photos. Go to Settings > Camera > Formats and turn on Apple ProRAW.
- Live Photos: Ensure the Live Photos icon (circular icon) is highlighted in the Camera app. Simply take a photo as usual.
See Also: How To Read AO3 On iPhone: Enjoying Fanfiction On The Go
FAQs
Can I capture the Northern Lights with an iPhone?
Yes, if you have an iPhone 11 Pro or newer, you can capture impressive photos and sometimes even videos of the Northern Lights. Ensure you use Night Mode and avoid using the flash for optimal results.
Do I need a tripod to capture such Lights on my iPhone?
Absolutely. It is essential for night sky photography, especially when using the long exposure feature on your iPhone. It ensures stability and prevents blurring of the images.
How does Night Mode work to capture the lights?
Night Mode on the iPhone allows for long exposure shots, typically around three seconds or more. This means the camera shutter stays open longer, capturing more light, which is crucial for photographing the Northern Lights.
Can I video the Aurora on an iPhone?
Yes, but it's challenging. Videos of the Aurora on an iPhone are typically possible only on nights with very high Aurora activity. Point and shoot, but remember, the clarity might not be optimal.
Are iPhone photos of the Northern Lights good for printing?
While iPhone photos of the Aurora can look decent for social media, they might not have the clarity required for large prints or wall art. For high-quality prints, a full-frame camera is recommended.
Conclusion
Capturing the ethereal beauty of the Northern Lights on an iPhone might initially seem like trying to bottle a star’s twinkle. But as we’ve journeyed through this guide, it’s evident that with the right tools, settings, and a sprinkle of patience, it’s entirely within reach.
How to capture Northern Lights on iPhone? The iPhone, with its advanced camera features, is more than just a communication device—it’s a powerful instrument that can immortalize moments of sheer wonder. As Julia Evans often reminds us in her zines, the key is understanding and experimentation.
So, the next time the sky dances with colors, armed with your knowledge and iPhone, you’ll be ready to capture the magic. Here’s to many breathtaking shots of the Aurora Borealis and the stories they’ll tell!
See Also: Does Your Location Show When iPhone Is Dead? Truth Revealed

Dale Fox is an Editor, helping people get the most out of their technology. He’s been a tech nerd ever since childhood, when he used the money from his first job as a paperboy to buy a subscription to GamesMaster magazine, and has a whole room at home dedicated as a shrine to the countless gadgets he’s purchased over the decades. Dale was previously a presenter, reporter and editor in China, where he also worked as a copywriter for OnePlus at its Shenzhen HQ.