Have you ever stumbled upon a mysterious audio clip on your iPhone and thought, “What if this played backward?” Maybe you’re chasing that eerie effect for a short film, or perhaps you’re just curious. The itch to reverse audio can be both tantalizing and frustrating. How to reverse audio on iPhone? It’s like having a puzzle with all the pieces but no idea how to assemble them.
To reverse audio on an iPhone, download the “Reverse Audio” app from the App Store, upload your audio file, select the reverse option, and save the newly reversed audio to your device.
How to reverse audio on iPhone? But what if we told you there’s a simple way to flip that sound around, right on your iPhone as song reverser?
See Also: How To Add TeamSnap To iPhone Calendar?
Contents
Why Would You Want To Reverse Audio?
Imagine you’re crafting a suspenseful scene for your indie film. The protagonist stumbles upon a cryptic message, but it’s all gibberish—until played backward. That’s the magic of reversed audio! It’s not just for filmmakers, though. Musicians have been sneaking reversed tracks into their songs for that unexpected twist.
Remember the thrill of discovering hidden messages in classic rock songs? Or perhaps you’re a podcaster looking to add a sprinkle of mystery to your episodes. Whether it’s for creativity, curiosity, or chuckles, reversing audio opens a door to a world of sonic surprises.
Methods To Reverse Audio On iPhone
Diving into the world of audio manipulation on your iPhone might seem like venturing into a dense forest without a map. But fear not! How to reverse audio on iPhone? With the right tools and a dash of curiosity, you’ll be flipping audio clips like a pro in no time.
See Also: How To Tell If Someone Listened To Your Voice Message iPhone: Know The Signs
Using Dedicated Apps
The App Store is brimming with tools designed specifically for audio manipulation. One standout is the aptly named “Reverse Audio” app.
- Download and launch the “Reverse Audio” app.
- Tap on the ‘+’ icon to import your desired audio clip.
- Once uploaded, hit the ‘Reverse’ button. Voilà! Your audio now play songs backward.
- Save or share your masterpiece as you see fit.
Using Online Tools
If you’re hesitant to clutter your iPhone with more apps, online platforms might be your best bet. Websites like “Online Audio Reverser” offer straightforward solutions:
- Visit the website on your iPhone’s browser.
- Upload your audio file using the provided interface.
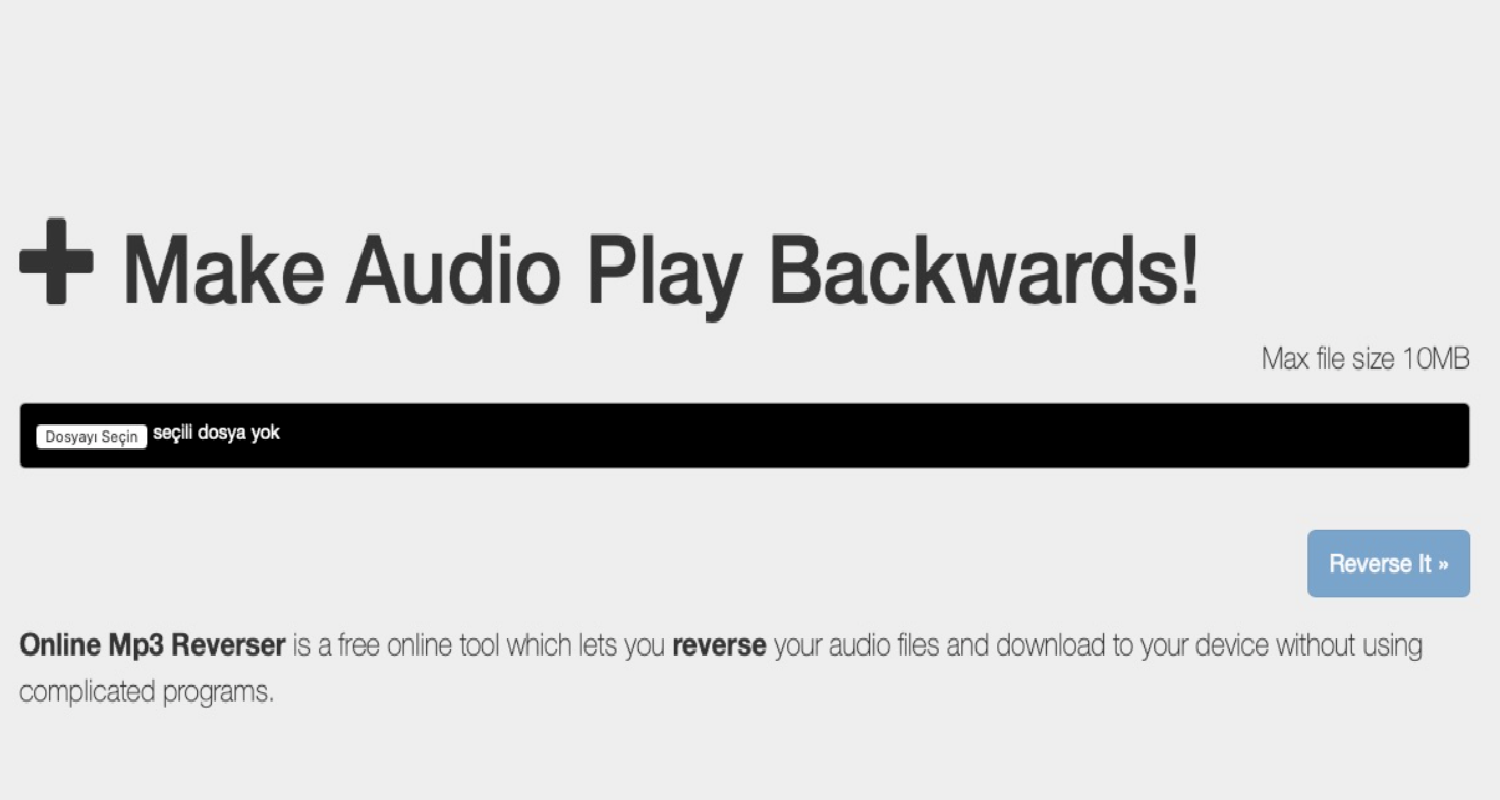
- Hit the ‘Reverse’ button and wait for the magic to happen.
- Download the reversed audio.
Remember, while online tools are convenient, always be cautious about uploading sensitive or personal audio clips to external websites.
See Also: How To See Dislikes On YouTube iPhone: Unveiling The Mystery
Advanced Methods For Tech-Savvy Users
If you’re someone who loves tinkering and diving deep, software like Audacity might pique your interest. Though not directly available on iPhone, with a bit of maneuvering, you can make it work:
- Transfer your iPhone audio file to a computer.
- Open the file in Audacity.
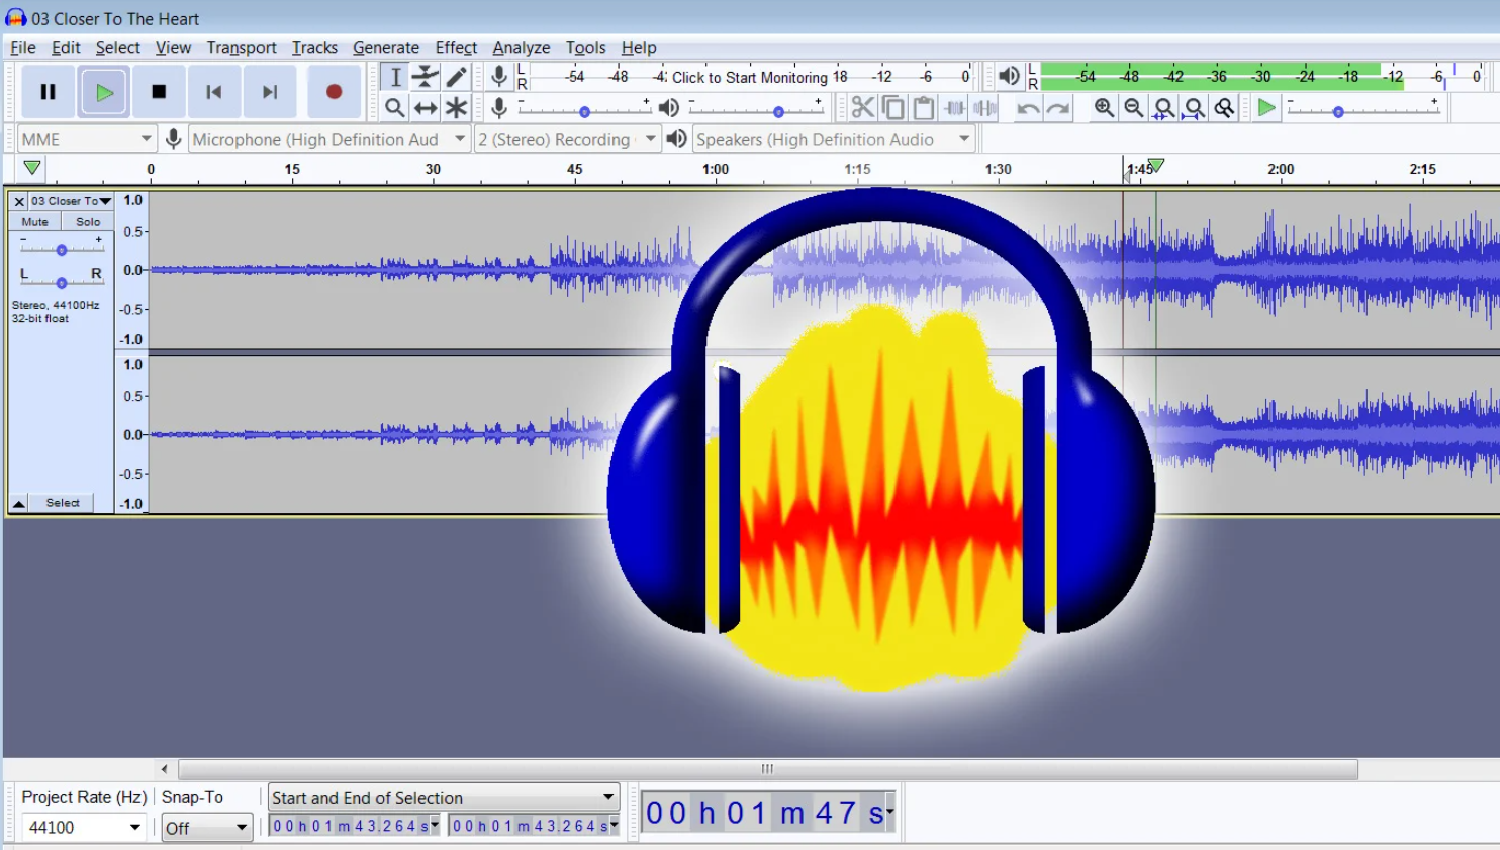
- Select the entire audio clip and choose the ‘Reverse’ effect from the menu.
- Export the reversed audio and transfer it back to your iPhone.
This method, while slightly more involved, offers greater control over audio quality and additional editing options.
In conclusion, whether you’re a casual user or an audio enthusiast, the iPhone offers a plethora of options to reverse audio.
Things To Consider When Reversing Audio
Reversing audio, while a fascinating endeavor, isn’t just about hitting the ‘reverse’ button and calling it a day. There are nuances and considerations that can make the difference between a muddled mess and a clear, intriguing backward sound. How to reverse audio on iPhone? Let’s delve into some key factors.
- Audio Quality Matters: The quality of your original audio file plays a pivotal role in the outcome. A high-resolution sound will reverse more cleanly, preserving the nuances and details and reverse audio app. On the other hand, a low-quality audio might result in a garbled, less discernible reversed version. Always aim to start with the best quality recording possible.
- Duration And File Size Limitations: Whether you’re using an app or an online platform, be aware of any limitations on file size or duration. Some tools might truncate longer recordings or refuse to process large files altogether.
- Privacy Concerns: When using online tools, remember that you’re uploading your audio to an external server. If your recording contains sensitive or personal information, think twice before reversing it online. Opt for trusted platforms or stick to offline methods to ensure your privacy remains intact.
In essence, while reversing audio can be a fun and enlightening experience, being mindful of these considerations ensures that you get the best out of your sonic adventures.
See Also: Your Device Is Missing Important Security And Quality Fixes
Common Issues And Troubleshooting
Ah, the world of audio manipulation! It’s a realm of endless possibilities. Here are some common issues when reversing audio on your iPhone and how to troubleshoot them.
- Distorted Output: Ever reversed an audio and it sounds more like an alien transmission than a backward message? Solution: Always use high-resolution audio files for clearer results.
- App Crashes: Some apps might crash if the audio file is too large. Solution: Break your audio into smaller chunks or try a different app with higher file size limits.

- Incomplete Reversal: Sometimes, the end (or beginning) of your audio might get chopped off as backwards recorder. Solution: Ensure the entire audio is selected before reversing, and check for app-specific settings that might affect the output as audio reverser.
Remember, with a bit of patience and the right tools, you can navigate these challenges and achieve that perfect reversed audio masterpiece!
See Also: How To Take Boudoir Photos Of Yourself With iPhone: Capture Elegance
FAQs
How do you reverse audio in voice memos on iPhone?
To reverse audio in voice memos, you'll need an external app or tool. Go to the Voice Memo app, select the memo you want to reverse, tap on the Share button, and choose Copy. Then, use a dedicated reversing app or online platform to reverse the copied audio.
Can you reverse play recorded sound on the iPhone?
Yes, there are specific apps available on the App Store, like Reverse Audio, that allow you to reverse play recorded sounds directly on your iPhone.
How can you reverse an existing audio file format like WAV on iOS?
To reverse an existing audio file format like WAV on iOS, you can use dedicated audio editing apps or transfer the file to a computer, use software like Audacity, and then transfer the reversed audio back to your iPhone.
Are there any apps to reverse videos and their audio on iPhone?
Yes, apps like Reverse Vid: Video Reverser on the App Store allow you to reverse both videos and their accompanying audio, creating amusing and intriguing results.
Can you reverse audio recordings on iPhone?
Absolutely! Apps like Reverse Audio Recorder on the App Store let users record audio and then play it backward, offering a unique listening experience.
Conclusion
But as we’ve journeyed through the various methods, tools, and considerations, it’s clear that with the right approach, it’s a breeze. Whether you’re diving into this for creative projects, sheer curiosity, or a blend of both, the world of backward sounds offers a unique sonic playground.
How to reverse audio on iPhone? So, the next time you’re itching to hear what your favorite song or that intriguing voice memo sounds like in reverse, you’re well-equipped to take the plunge. Here’s to many more audio adventures on your iPhone!

Hello, I am McKenzie and I am totally obsessed with getting the best experience out of every device that I use. Hence, I started this blog to help others make the most of their devices and fix errors in a jiffy! :)